How To Make Exposed Tile Edges Look Finished: A Guide To Tile Trim
15/05/2024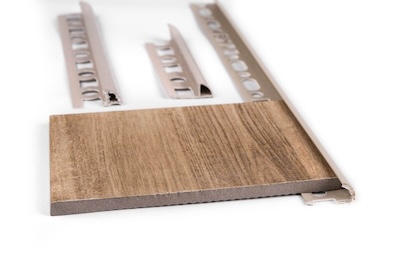
When it comes to tiling projects, achieving a polished and professional look is all about the details. While precisely laying tiles is crucial, ensuring that the edges are properly finished can make or break the overall aesthetic. Exposed tile edges not only lack visual appeal but can also be prone to damage over time. With the right technique and the use of tile trim, you can easily transform rough edges into seamless transitions. In this blog, we'll delve into the world of tile trim and how to finish tile edges, exploring how it can be the perfect finishing piece to your tiling projects.
Understanding the Importance of Tile Trim
Tile trim, also known as tile edging or tile edge trim, serves both functional and aesthetic purposes. Functionally, it protects the exposed edges of tiles from chipping, cracking, and wear, extending the lifespan of your tiled surfaces. Aesthetically, it provides a clean and finished look, enhancing the overall appearance of your tiled space. Whether you are looking for porcelain tile edge finishing, how to finish bathroom tile edges or just finishing tile edges generally, incorporating tile trim is essential for achieving professional results.
Types of Tile Trim
Metal Tile Trim: Metal tile trim, such as aluminium tile trim or stainless steel tile trim, offers durability and a sleek, modern aesthetic. It's ideal for contemporary designs and high-traffic areas where additional protection is needed. A popular choice is the Straight Edge Polished Chrome Tile Trim by Genesis.
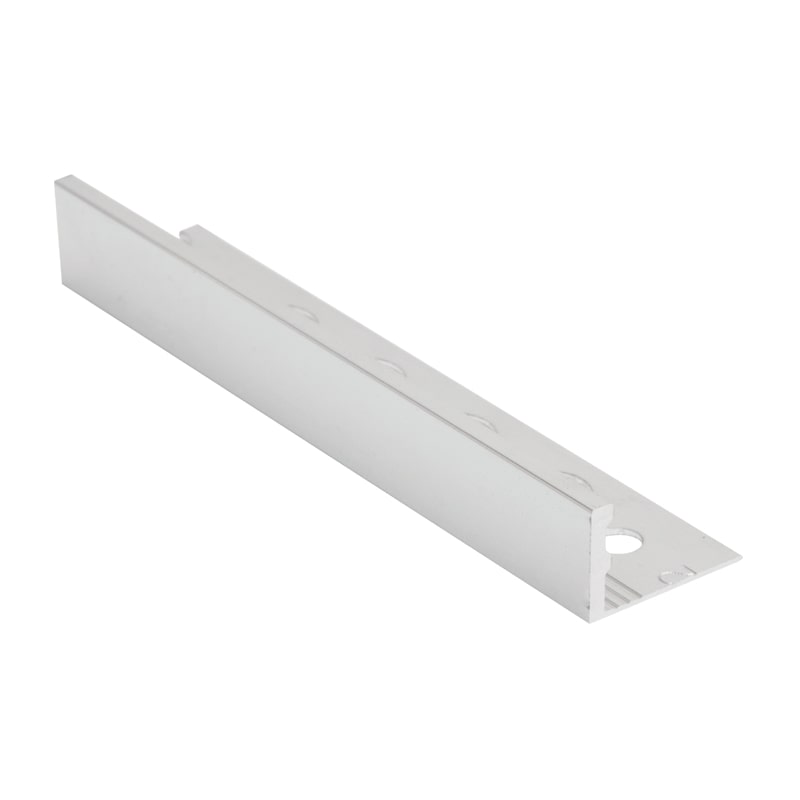
Plastic Tile Trim: Plastic tile trim, available in various colours such as black tile trim, beige tile trim and finishes, offers a lightweight and flexible solution for finishing tile edges, providing both durability and aesthetic appeal. The Dural PVC Straight Edge Tile Trim is ideal as a secure edge trim and for the clean separation of different surfaces.
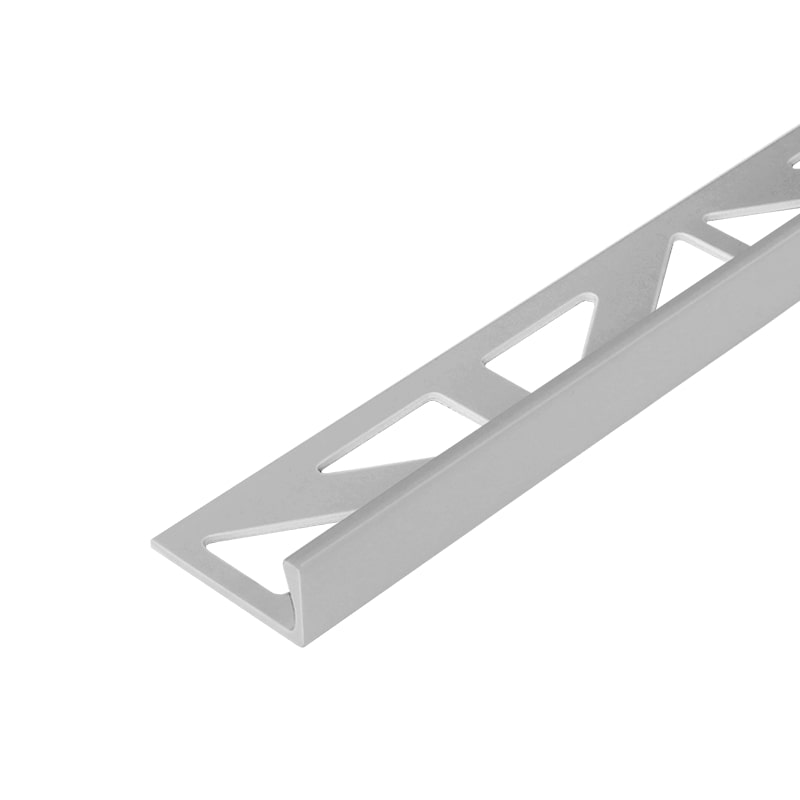
Trade Tile Trim: Trade tile trim, designed for professional use, encompasses a range of high-quality trim options such as Premtool Contract Metal Straight Edge Matt Gold Tile Trim, is tailored to meet the specific needs of contractors and tradespeople, ensuring precision and reliability in every installation.
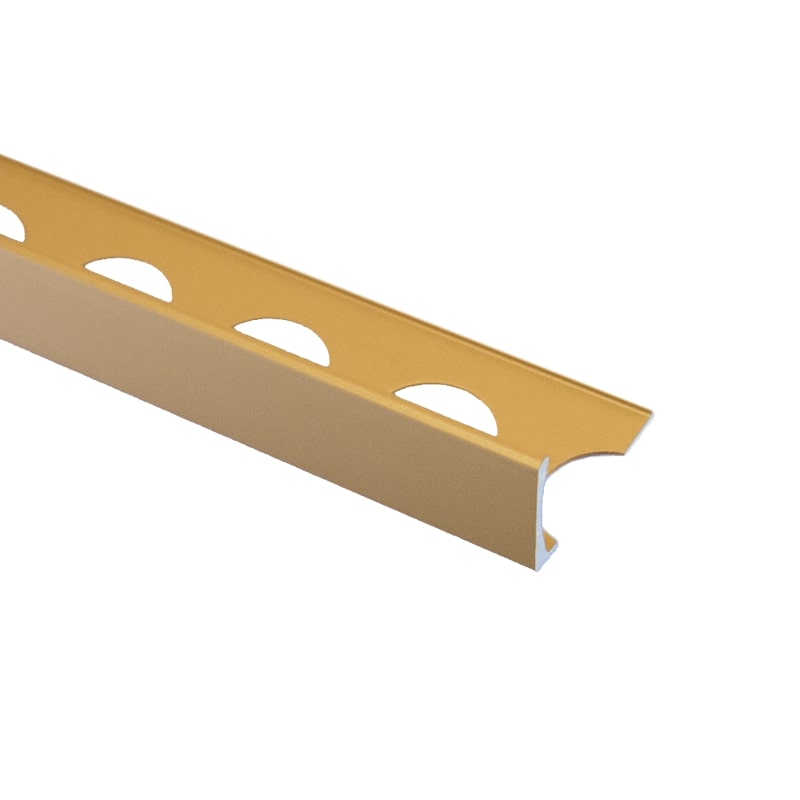
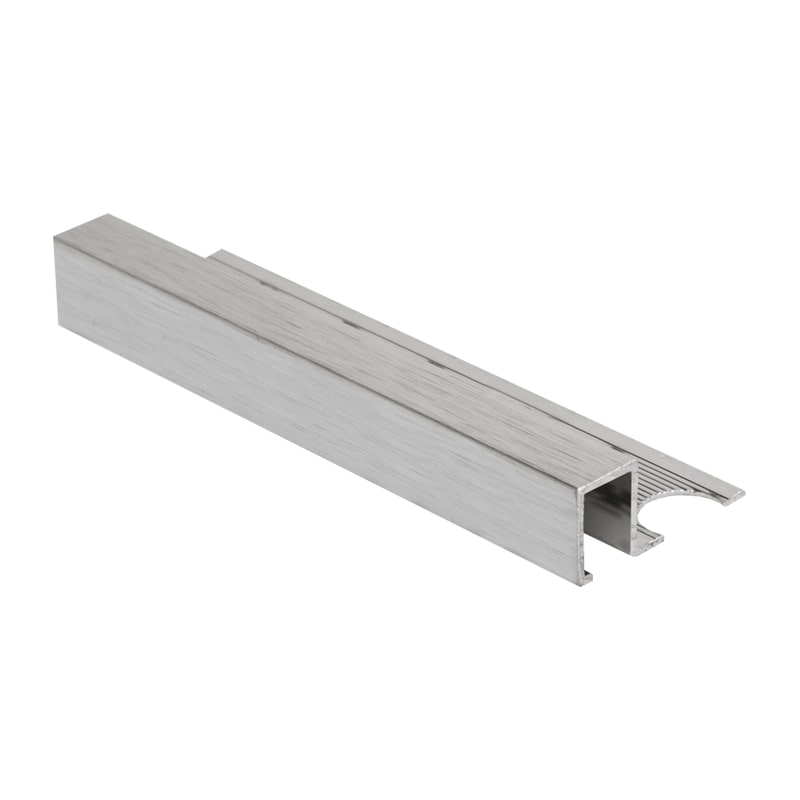
Square Edge Tile Trim: Square edge tile trim, offers a clean and minimalist look, perfect for contemporary designs. It provides a sharp transition between tiles and adjacent surfaces. The Square Edge Brushed Silver Tile Trim by Premtool is a protective external edge profile designed to be used as more of a decorative feature.
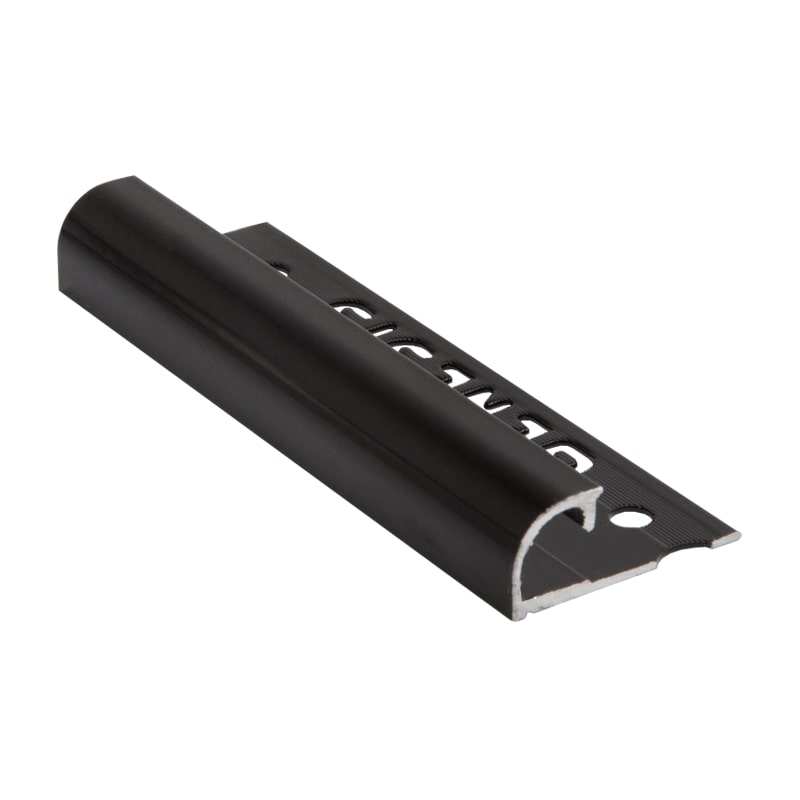
Round Edge Tile Trim: Round edge tile trim features a curved profile that offers a smooth and seamless transition between tiled surfaces and adjacent materials, adding a decorative touch while providing protection to tile edges. The Genesis Round Edge Black Powder Coated Tile Trim is designed to be used as edge trim to protect hard edges of ceramic tiling in both wall and floor tiling applications.
Choosing the right type of tile trim depends on factors such as the tile material, design aesthetic, and installation location. Once you've selected the appropriate trim, it's time to prepare for installation.
See More:
Tile Trim Sizes
To achieve the perfect tile edge finish, you will need to make sure you have the right size tile trim.
Our 8mm tile trim offers an elegant yet robust profile that provides reliable protection for tile edges while adding a touch of sophistication to your tiling installation. Constructed from high-quality materials, our 8mm tile edge trim is built to last, making it suitable for a wide range of applications, from residential renovations to commercial projects. Its precise dimensions and sleek design make it ideal for framing edges, defining transitions, or adding a matching or contrasting accent to your tile designs.
A popular size for a variety of tile installations, 10mm tile trim is a versatile and reliable option crafted to provide the perfect edge for your tile installations. Engineered with precision and durability in mind, our 10mm tile trim offers both functionality and aesthetic appeal. Its sturdy construction provides dependable protection for tile edges, while its sleek design adds a touch of sophistication to any space.
Our 12mm tile trim offers a sturdy profile that ensures both functionality and aesthetic appeal. Available in a range of colours, finishes and profiles, our 12mm tile edge trim offers flexibility to suit your specific project requirements. Whether you're updating a bathroom, kitchen, or living area, our trim provides the perfect solution for achieving professional and polished results.
Tile Trim Colour
Another consideration when thinking about the finishing touches to your project is tile trim colour. You can opt for matching tile trim to make your exposed tile edges look finished or contrast the colour of your trim to your tile depending on the aesthetic you are going for. Popular tile trim colours include chrome tile trim, black tile trim, brass tile trim, stainless steel tile trim, plus many other options depending on your project.
Installation Process
Whether you're finishing bathroom tile edges, splashback tile edges, or any other tiled surface, the installation process for tile trim follows a similar set of steps:
- Measure and Cut: Begin by measuring the length of the tile edge where the trim will be installed. Use a hacksaw such as the Bahco 317 Hacksaw, Bahco 239 Junior Hacksaw or Faithfull 150mm Junior Hacksaw or the Proxxon Chop And Mitre Saw, to cut the trim to the appropriate size, ensuring precision and accuracy.
- Prepare the Surface: Clean the tile edge thoroughly to remove any dirt, dust, or debris. Ensure that the surface is dry and free of moisture before proceeding with installation.
- Apply Adhesive: Depending on the type of tile trim and the substrate, apply a suitable adhesive to the back of the trim or directly onto the tile edge. Follow the manufacturer's instructions for proper application and curing time.
- Install the Trim: Carefully position the tile trim along the edge of the tile, ensuring a snug fit and alignment with adjacent tiles. Use gentle pressure to press the trim firmly into place, eliminating any air bubbles or gaps.
- Secure and Finish: If necessary, use screws or nails to secure the tile trim in place, especially for metal trims or high-traffic areas. Once the trim is securely installed, wipe away any excess adhesive and clean the surface for a flawless finish.
See more: How To Fit Tile Trim: 10 Steps
Maintenance Tips
To maintain the pristine appearance of your tiled surfaces and tile trim, consider the following maintenance tips:
- Regularly clean tiled surfaces with a mild detergent and water solution to remove dirt, grime, and stains.
- Avoid using abrasive cleaners or tools that could scratch or damage the tile finish and trim.
- Inspect the tile trim periodically for any signs of damage or wear, such as chips, dents, or corrosion. Replace damaged trim promptly to prevent further issues.
Finishing tile edges to a high standard is essential for achieving professional-looking tiling projects. By incorporating tile trim, you can elevate the aesthetic appeal and durability of your tiled surfaces while ensuring a seamless transition between tiles and adjacent materials, such as carpet to tile. Whether you're renovating a bathroom, installing a kitchen splashback, or tackling any other tiling project, choosing the right type of tile trim and following proper installation techniques are key to success.
With our wide selection of high-quality trim options, you can confidently complete your tiling projects with style and precision. Get in contact today on 01604 439345 or [email protected].

