How To Fit Tile Trim Around Corners
11/03/2024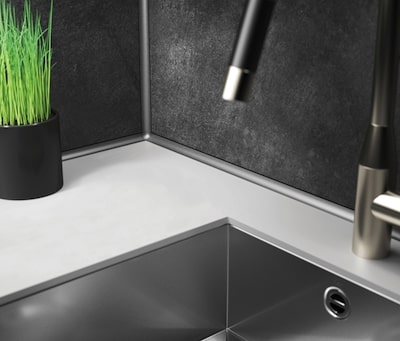
When it comes to achieving a professional finish in your tiling project, mastering the art of fitting tile trim around corners is crucial. Whether you're tiling a kitchen splashback backsplash, a bathroom wall, or any other tiled surface, using tile corner trim ensures a seamless and aesthetically pleasing result. In this guide, we'll explore the step-by-step process of tiling corners with trim, covering key aspects such as types of corner tile trim, installation techniques, and tips for a flawless finish.
Types of Tile Corner Trim
There are many types of tile trim corners, each for different effects and purposes. These include:
-
Internal Corner Tile Trim
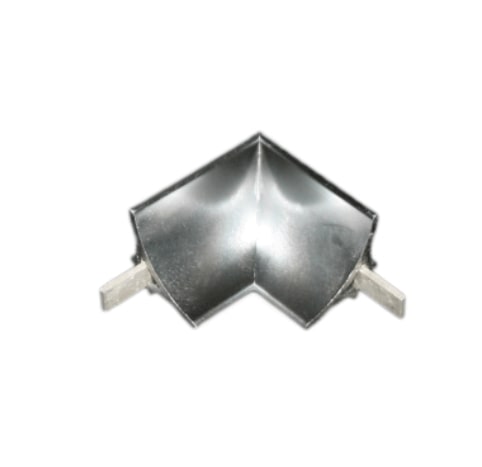
For corners where two tiled surfaces meet at an inward angle, internal corner tile trim is the ideal solution. This trim is designed to cover the exposed edges of tiles, ensuring a clean and professional look. Premium Tile Trim offers a couple of internal trim corners which are Genesis Polished Chrome Internal Corners and Genesis Polished Chrome External Corners. If you’re looking to match internal corners to the perfect tile trim, then the Genesis EWA is a good choice in this case.
-
Round Edge Corners
Read more: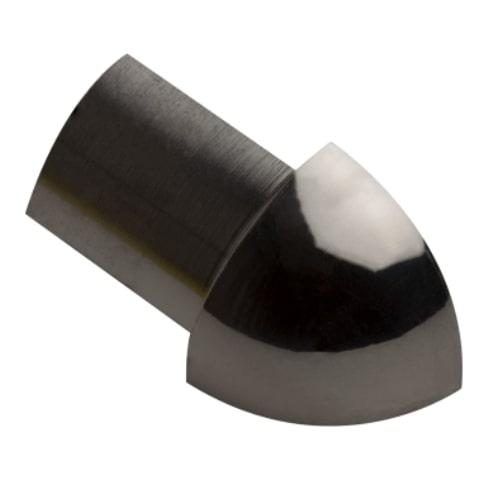
Round edge corners are a popular choice for achieving a modern and sleek finish. Available in various materials and colour finishes, round edge corners protect the corners and add a touch of sophistication to your tiled space. Premium Tile Trim stocks Genesis tile trim corners, Schluter corner trim, and Dural round edge corners.
When pairing round edge corners with the ideal trim, these three options are worth considering:
-
Square Edge Corners
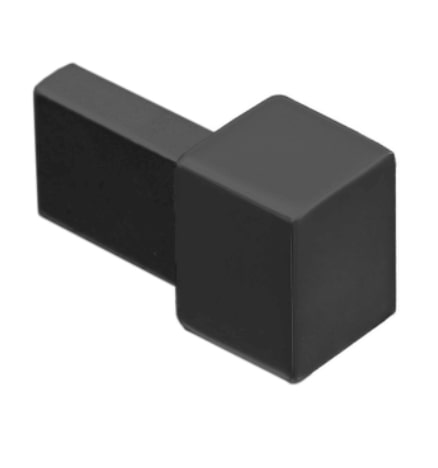
Square edge corners refer to tiles with edges that meet at a perfect right angle, forming a sharp and clean joint. This creates a seamless and uniform appearance when tiles are installed side by side. These corners are meticulously crafted to ensure precise alignment and seamless integration, offering a sleek transition between tiles and adjacent walls or edges.
Ideal for both residential and commercial applications, square edge corners lend a clean and contemporary aesthetic to spaces, enhancing the overall look and feel of interiors. Additionally, they serve a practical function by protecting tile edges from damage and ensuring long-lasting durability.
If you’re looking to match your square edge corners to your trim, Schluter Quadec square edge trim, Genesis TDP, Dural DPM, or Premtool AMQE are the best options from Premium Tile Trim.
-
Triangular Edge Corners
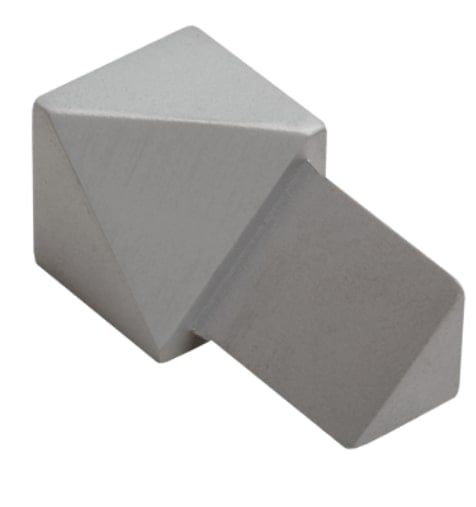
Triangular edge corners offer both functional and aesthetic benefits, designed to provide a seamless transition between tiled surfaces and walls, these corners ensure clean, professional finishes in any setting. Whether you're accentuating a modern kitchen backsplash or adding a refined touch to a bathroom renovation, they are particularly useful in areas prone to impact or abrasion, such as kitchen countertops and bathroom walls, offering enhanced protection against chipping and damage.
Beyond their protective function, triangular edge corners also contribute to the overall design scheme, adding sleek, modern lines that complement contemporary interiors.
Here are some trustworthy internal and external Genesis triangular corner options, that work well with Genesis EAT Triangular tile trim:
-
Straight Edge Corners
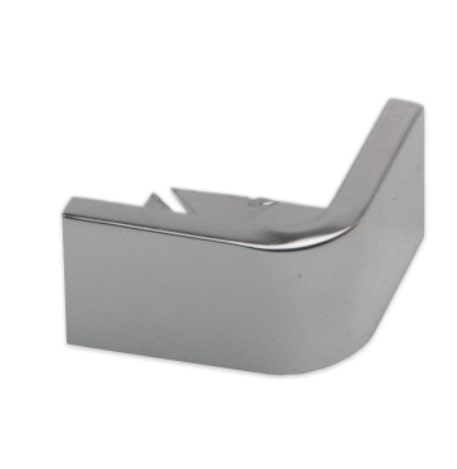
Straight edge corners serve a dual purpose, enhancing both the aesthetic appeal and structural integrity of tiled areas. They hide and protect the exposed raw edge of tiles, and create a neat and professional finish. They are available for a wide variety of Genesis ESA straight edge trims, in various finishes and sizes, such as polished chrome, brushed chrome, and matt silver. Straight edge corners are particularly beneficial in high-traffic areas such as kitchens and bathrooms, where they provide essential protection against chipping and wear.
Tile Trim Corner Installation Steps
We already have a comprehensive guide on fitting tile trim; How To Fit Tile Trim:10 Steps. But to give a summary specific to tile trim corners, the below six steps should prove useful to your installation process:
-
Measure and Cut
Begin by measuring the length of the corner where the trim will be installed. Use a hacksaw or another suitable tool to cut the tile trim to the required length. Ensure the cut is precise for a seamless fit.
Read more: What Size Tile Trim Do I Need?
-
Prepare the Surface
Clean and prepare the tiled surfaces around the corner to ensure proper adhesion. Remove any dust or debris that may hinder the bonding of the tile trim. Here are a couple of suggested cutting tools:
-
Apply Adhesive
Apply a suitable adhesive to the back of the tile trim. Ensure even coverage to promote a strong bond. For external corners, apply adhesive to both surfaces that meet at the corner.
-
Press Trim Into Place
Carefully press the tile trim into place along the corner, making sure it aligns perfectly with the edges of the tiles. Apply gentle pressure to ensure a secure bond.
-
Secure With Tape
To prevent the tile trim from moving during the adhesive curing process, use painter's tape or masking tape to secure it in place. Allow the adhesive to dry according to the manufacturer's instructions.
-
Grout the Edges
Once the adhesive is fully cured, carefully remove the tape and proceed to grout the edges of the tile trim.
Tips for a Flawless Tiling Trim Finish:
- Always use high-quality, premium tile trim to ensure durability and longevity.
- Take your time measuring and cutting the trim for precise and snug fits.
- Use the appropriate adhesive for your specific tile and trim materials.
- Consider sealing the edges of natural stone or porous trims to prevent staining.
- Follow our Guide To Choosing Tile Trim
Tiling Corners With Trim
Premium Tile Trim offers a wide range of tile trims, including external and internal corner options, as well as stylish metal tile trim. By following the steps outlined in this guide and incorporating our tips, you'll be well on your way to creating stunning, seamlessly tiled corners that stand the test of time.
If you're uncertain about which tile trim to choose, don't hesitate to seek advice from our friendly team of professionals at Premium Tile Trim, many of whom are knowledgeable ex-tilers. They can provide valuable insights and recommendations based on your specific project and design preferences. Contact us today!

