

How To Fit Outdoor Tile Trim
30/09/2026
Knowing how to fit outdoor tile trim correctly is an essential part of any exterior tiling project, however, it's often overlooked. Exposed tile edges are constantly subjected to foot traffic, harsh weather, frost and UV exposure, making them vulnerable to chips, cracks and water ingress. A properly installed tile trim not only creates a clean, professional finish but also protects tile edges, helps prevent moisture behind the tiles and improves the long-term durability of the installation. In this guide, we'll walk you through how to fit outdoor tile trim step by step, the tools you'll need, and the best installation practices to help ensure a strong, weather-resistant finish that stands the test of time.
Why does outdoor tile trim matter?
While indoor tile trim mostly deals with knocks and wear, outdoor trim has to cope with harsher conditions, including:
UV exposure: Lower-quality plastic trims can fade, discolour and become breakable after prolonged exposure to sunlight.
Constant moisture: Rain, irrigation systems and pool splashback can all expose trims to regular moisture, increasing the risk of deterioration if unsuitable materials are used.
Heavier loads and impacts: Patios, terraces and pathways often support outdoor furniture, planters and higher levels of foot traffic, placing greater demands on the trim.
Freeze-thaw cycles: Water that penetrates exposed tile edges can freeze and expand during colder weather, potentially causing cracked tiles, damaged grout and edge failure.
For these reasons, high-quality aluminium, stainless steel or power-coated trims designed specifically for external use are recommended.
Types of outdoor tile trims
Before you start fitting, make sure you’ve picked the right profile and material. With outdoor tile trims, we offer multiple types of tile trims, each with a set purpose:
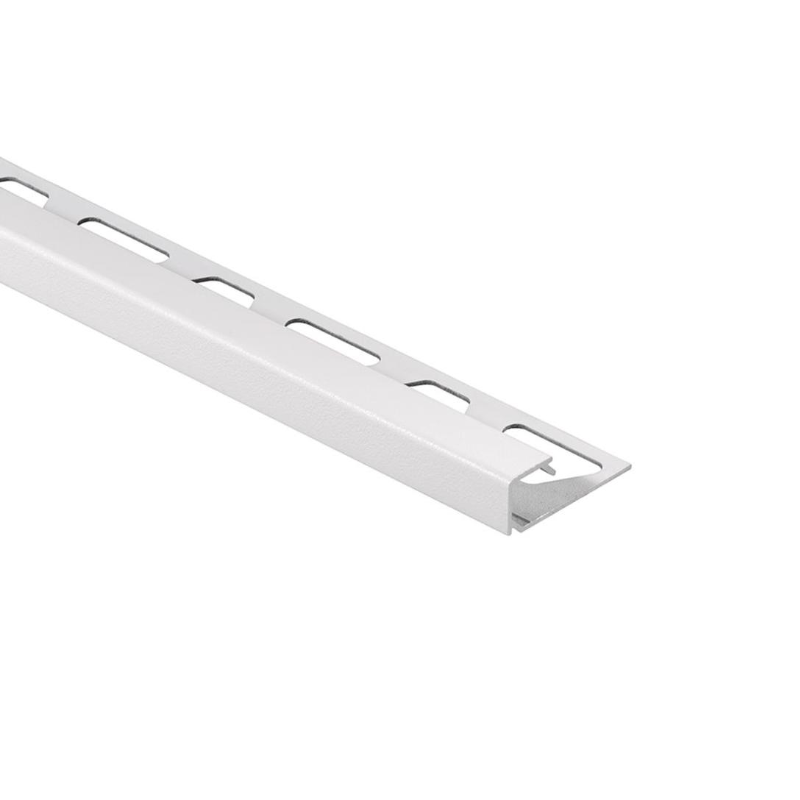
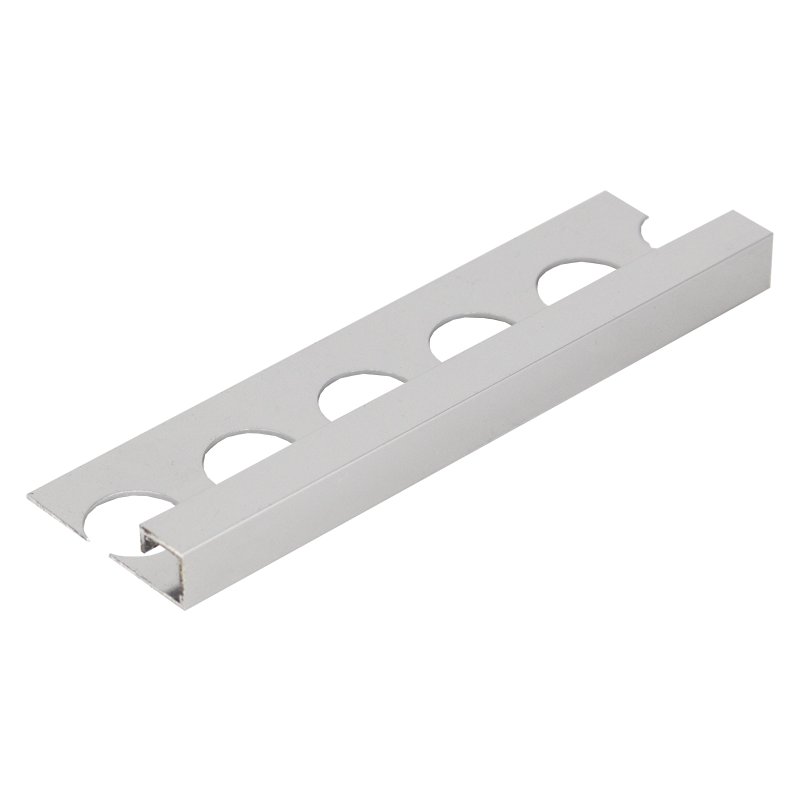
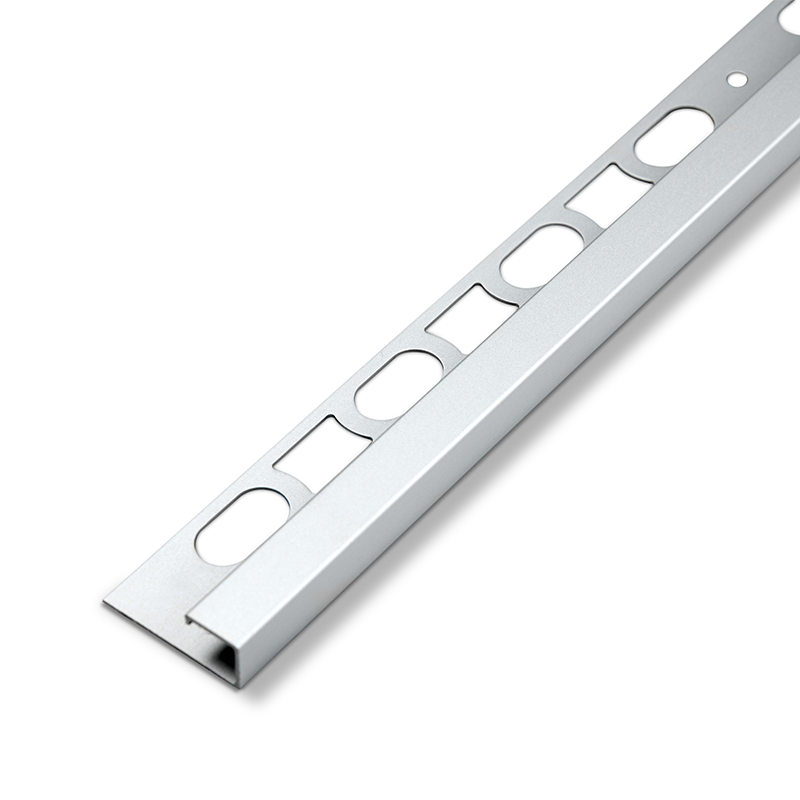
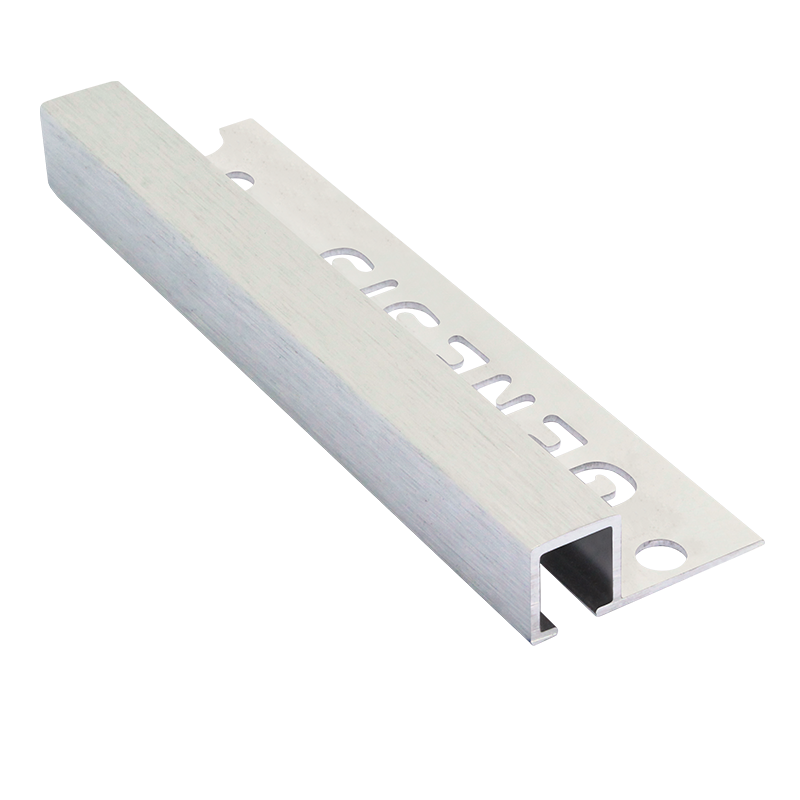
1. Square Edge Profile
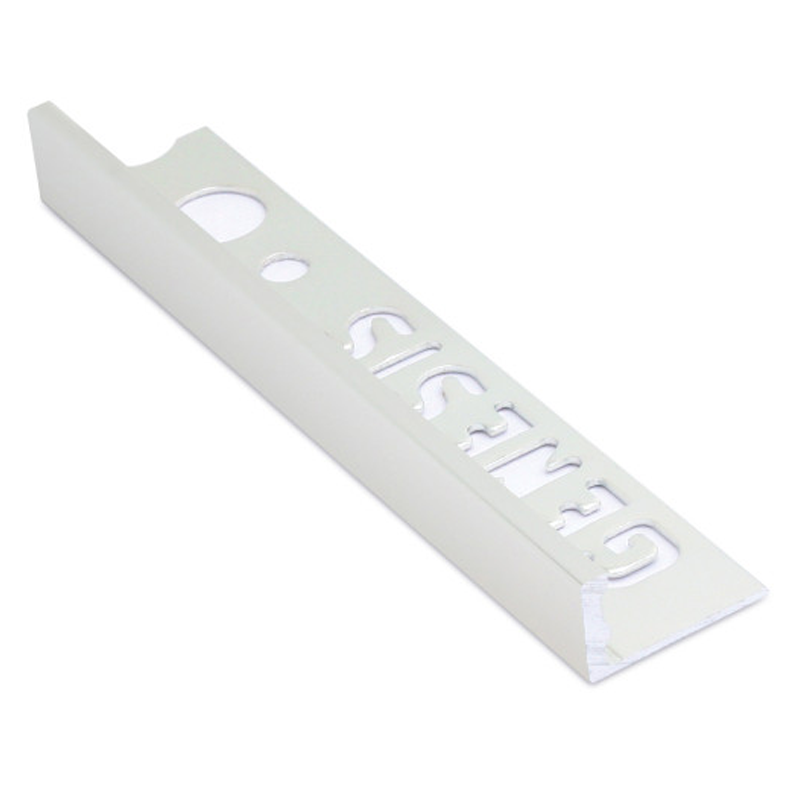
The square edge tile trim profiles are designed to protect exposed corners while eliminating the need for an unsightly and fragile 45° mitre cut. Their clean, straight edge creates a crisp, defined finish around coverings such as porcelain stoneware. Available in a range of finishes, these profiles combine practical protection with a stylish, contemporary finish, making them suitable for both wall and floor applications.
2. Straight Edge Profile
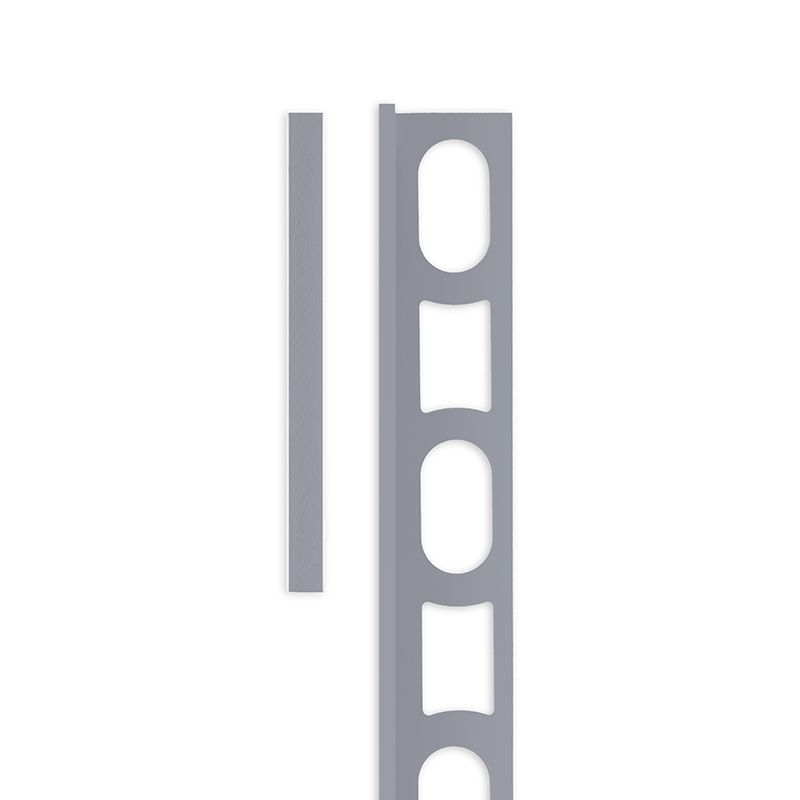
The stainless steel straight edge profile combines exceptional durability with a clean, contemporary finish, making it an ideal choice for outdoor applications in both residential and commercial settings. It is particularly well suited to patios, terraces, balconies and external walls where a crisp finish is required.
Available in brushed, matt and polished finishes, this profile adds a refined, premium touch to patios, outdoor kitchens and modern terraces. Manufactured from stainless steel, it provides excellent resistance to corrosion while protecting exposed tile edges, making it a practical and stylish solution for outdoor environments.
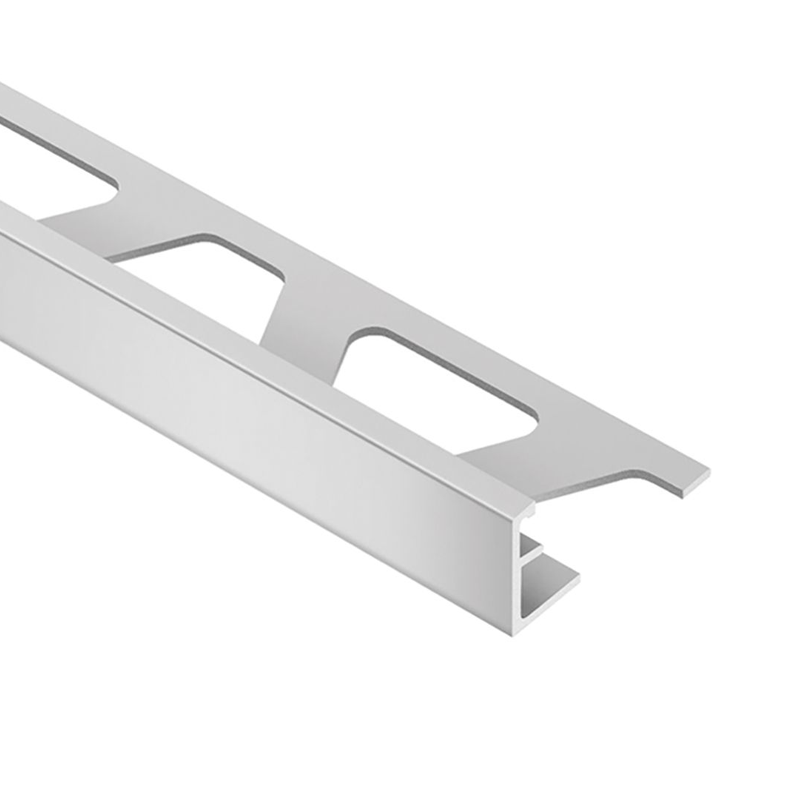
Tip: For 20mm outdoor tiles, especially 20mm porcelain paving, we’d recommend choosing a heavy-duty aluminium or stainless steel straight edge tile trim such as Mapei Profilpas straight-edge aluminium trim and the Dural DUROSOL straight-edge stainless-steel trim. Not sure which profile is right for your project? Explore our full range of 20mm Tile Trims to find the ideal solution for your outdoor installation.
3. Round Edge Profile
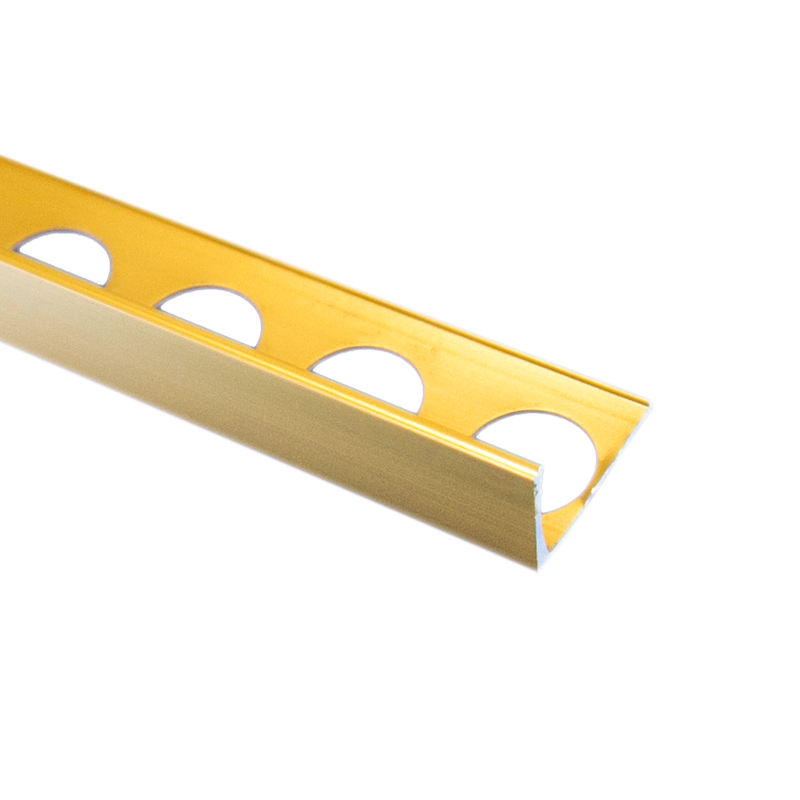
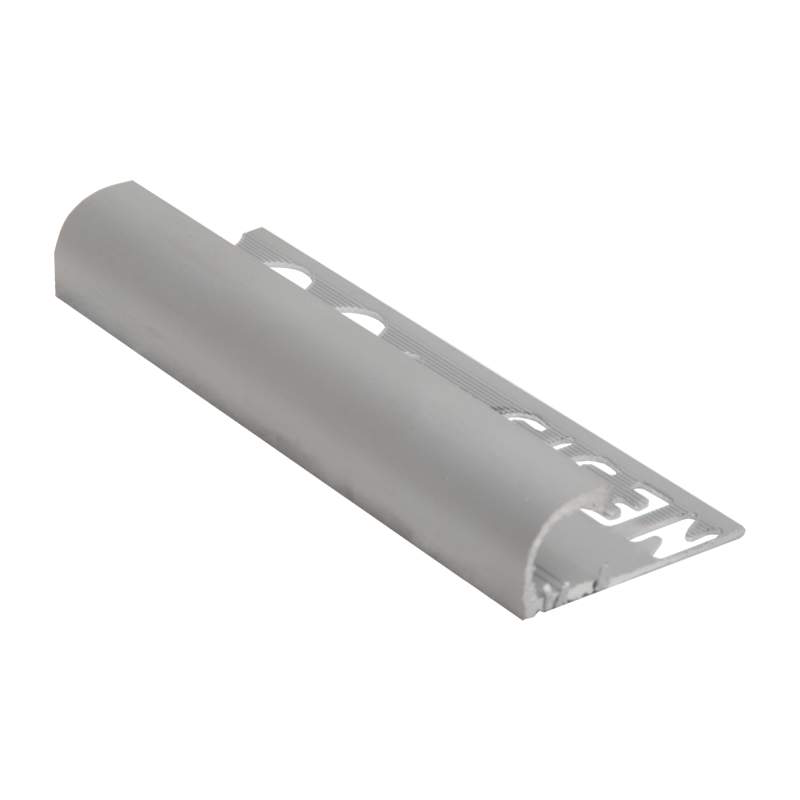
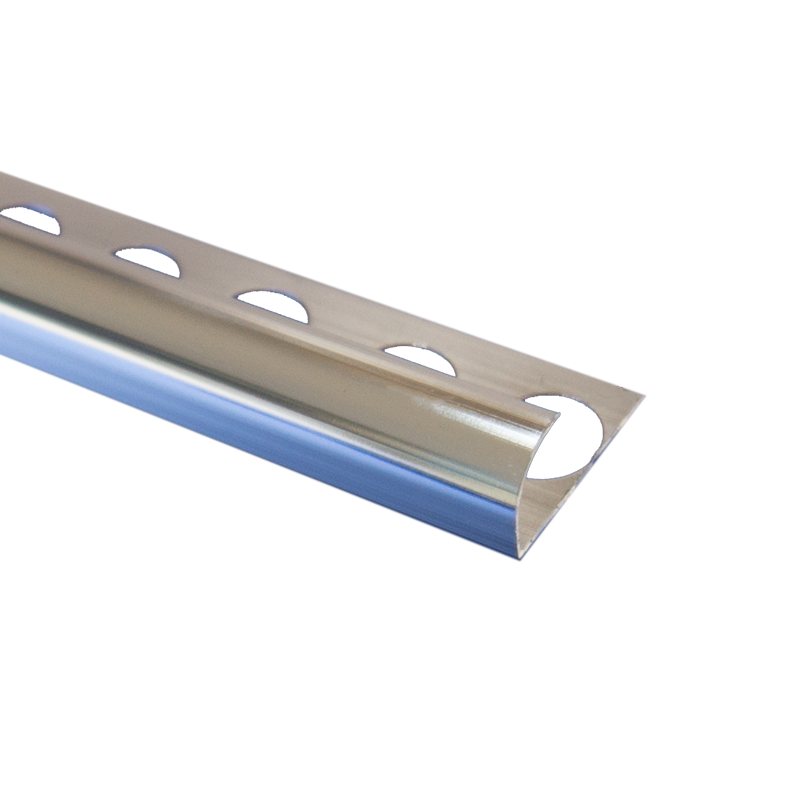
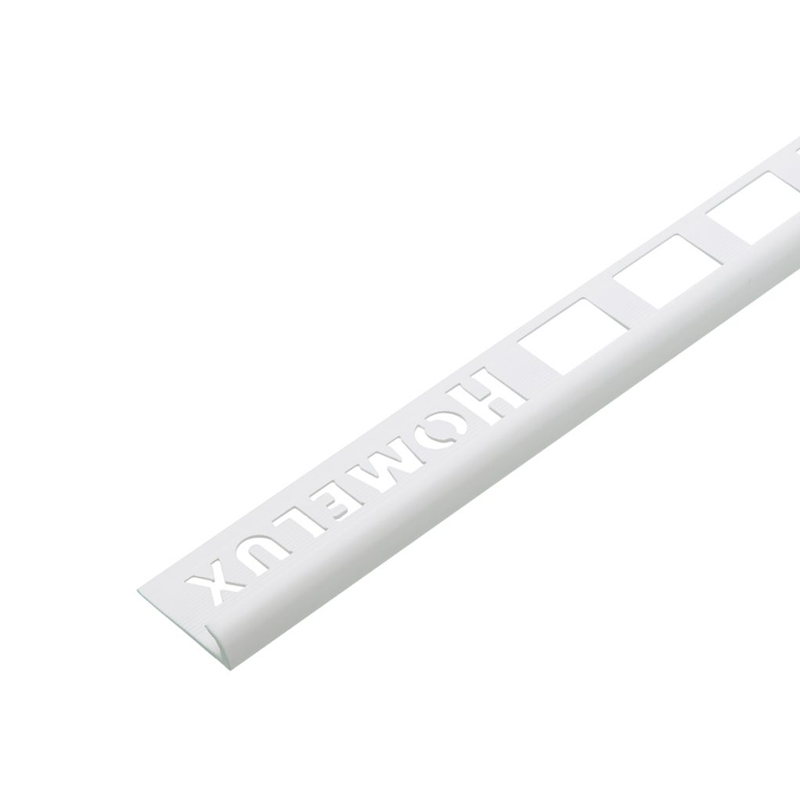
The round tile trim is a trim profile with a smooth, rounded edge that protects exposed tile edges on walls and floors. Its curved design gives a softer, cleaner finish and helps reduce the risk of sharp tile corners. It is ideal for pool surrounds, steps, walkways and other busy areas where safety, durability and a neat finish are important.
From
£9.90
each
From
£3.59
each
Read More:
Tool and Materials You Need
Before you start, gather the following:
Outdoor trim tile (correct profile and length for the run)
Tile adhesive rated for exterior use (flexible, frost-resistant)
Notched trowel
Tile spacers
Hacksaw or angle grinder with a metal-cutting disc, for cutting trim to length
Spirit level
Rubber mallet
Silicone sealant (exterior grade) for movement joints
Tape measure and pencil
Read More:
Step-by-Step: Fitting Outdoor Tile Trim
1. Prepare the Substrate
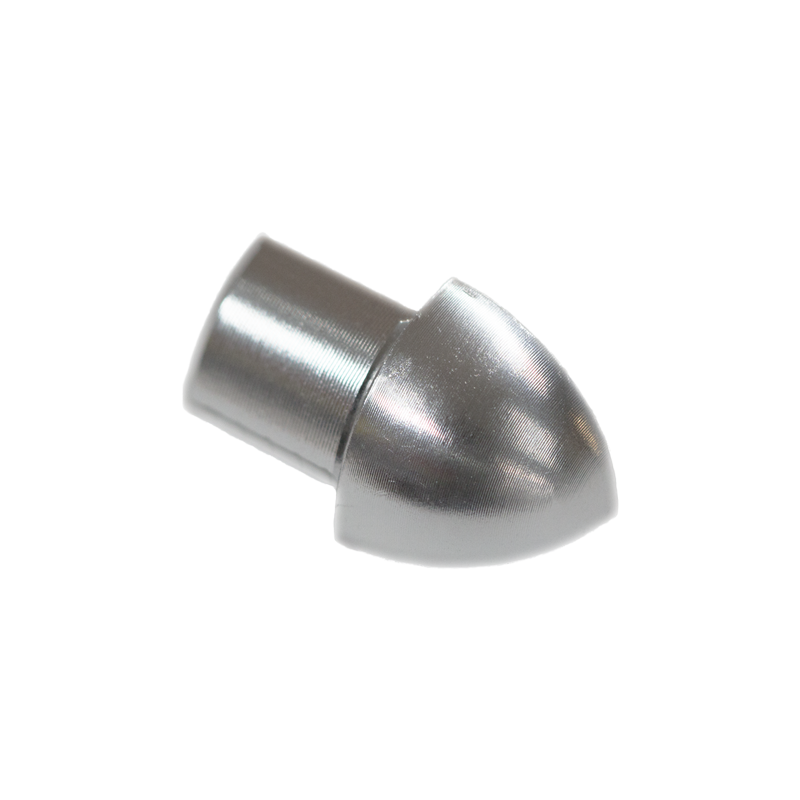
Outdoor substrates need to be clean, dry and free from dust or loose material. You also need to work out where trim runs will start and finish, where corners fall, and whether you’ll need mitred joints or trim connectors. Getting this right on paper (or patio) can save you costly mistakes once adhesive is down. If you tile over a screed or concrete base, ensure it is fully cured. Where required, apply a suitable primer in accordance with the adhesive manufacturer’s recommendations.
2. Cut the Trim to Length
Measure each run individually rather than assuming they're all the same - outdoor areas are rarely perfectly square. Use a mitre box for 45-degree corner cuts on external corners, and a straight cut with a metal file to clean the edge for butt joints. Always cut trim slightly longer than needed and trim back for a snug fit, rather than cutting short.
Read More:
3. Apply Adhesive and Bed the Trim
Use a notched trowel to spread exterior-grade flexible adhesive onto the surface. Most tile trims have a perforated or mesh edge that sits in the adhesive next to the tile. Press the trim firmly into the adhesive, making sure it fills the holes so the trim is securely fixed in place. If it is necessary, use a spirit level to ensure the trim is perfectly straight. The visible edge of the trim should align with the finished tile height.
4. Install the Tiles
Lay the tiles firmly into the adhesive alongside the trim. Use tile spacers to maintain consistent grout joints. The tile surface should sit level with the top edge of the trim without sitting higher than the profile.
Read More:
5. Check Alignment
As you continue laying tiles, regularly check:
Tile height
Straightness
Joint widths
Overall alignment
Making adjustments while the adhesive is still workable will produce a much cleaner finish.
6. Allow Adhesive to Cure
Leave the adhesive to cure according to the manufacturer's instructions before grouting. Avoid walking on newly laid outdoor tiles until fully set.
7. Grout the Installation
Fill all tile joints with exterior-grade grout. Remove excess grout promptly using a damp sponge, taking care not to scratch decorative trim finishes. Clean the installation thoroughly once the grout has cured.
Fitting outdoor tile trim correctly is an important part of creating a durable, professional-looking tiled surface. Make sure you read our guide to choosing tile trim, or for more expert tips on installing, contact our sales team on 01604 439345 or email [email protected].